No repair listed
No repair is shown in this menu. This does not prove the phone was never repaired.
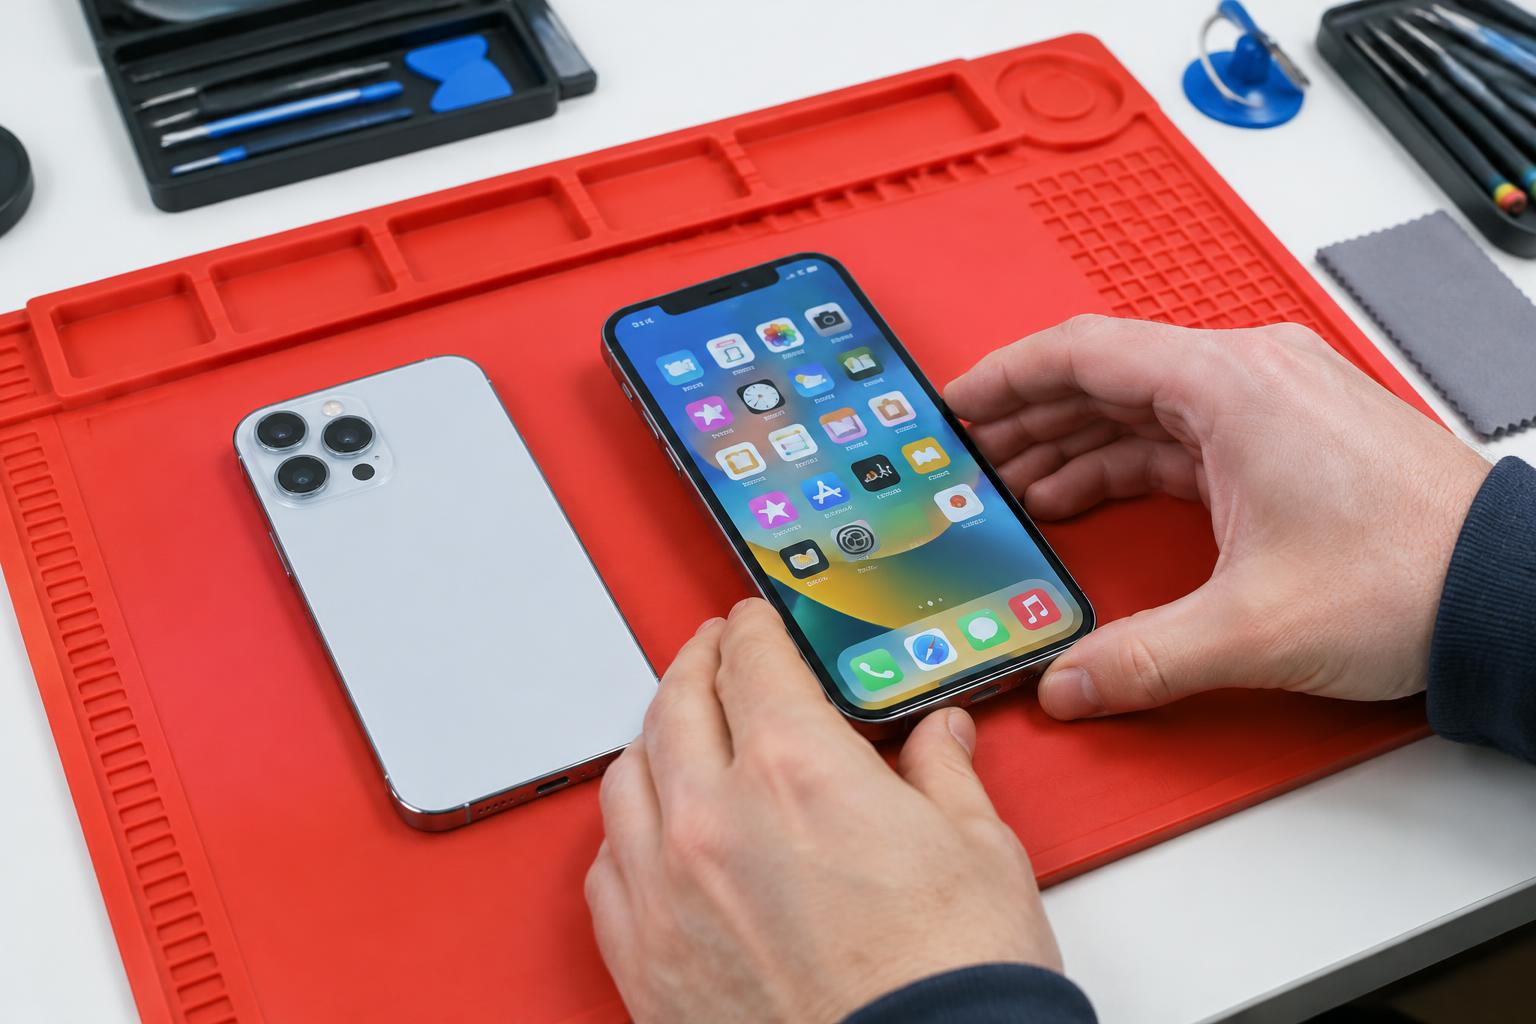
Eight practical bench checks with pictures. Know what to look for—and what each result really means.
8
Checks
10 min
Per phone
7
Apple links
The device is an Apple iPhone. No single identifier check proves this by itself.
Parts installed at the factory. Settings can reveal some repairs, but no single code or check proves every part is original.
A device restored or resold after use. These checks cannot always tell whether Apple or another seller refurbished it.
Phone → Keypad → *#06#
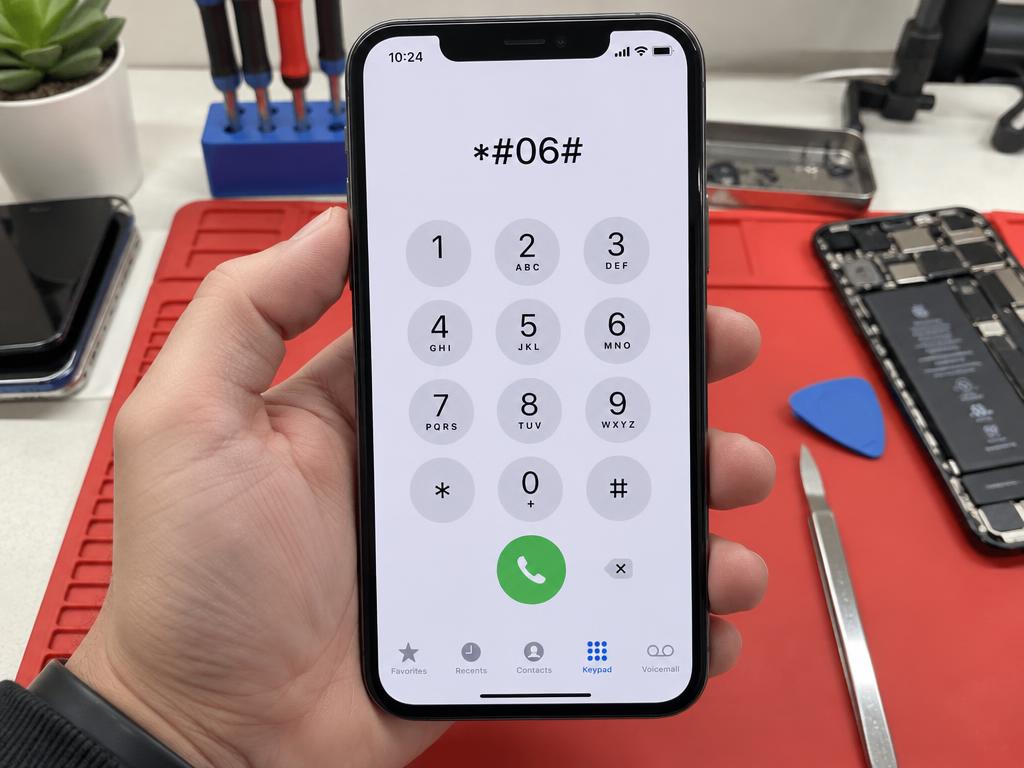
*#06#An identifier panel with IMEI information. Dual-SIM iPhones can list IMEI and IMEI2; compare the same identifier in both places.
Record whether the keypad and About identifiers match in your private inspection notes. If they differ, stop and investigate.
This code only displays the device identifier. Matching IMEIs are a useful consistency check—not proof that the phone or its parts are genuine.
Settings → General → About
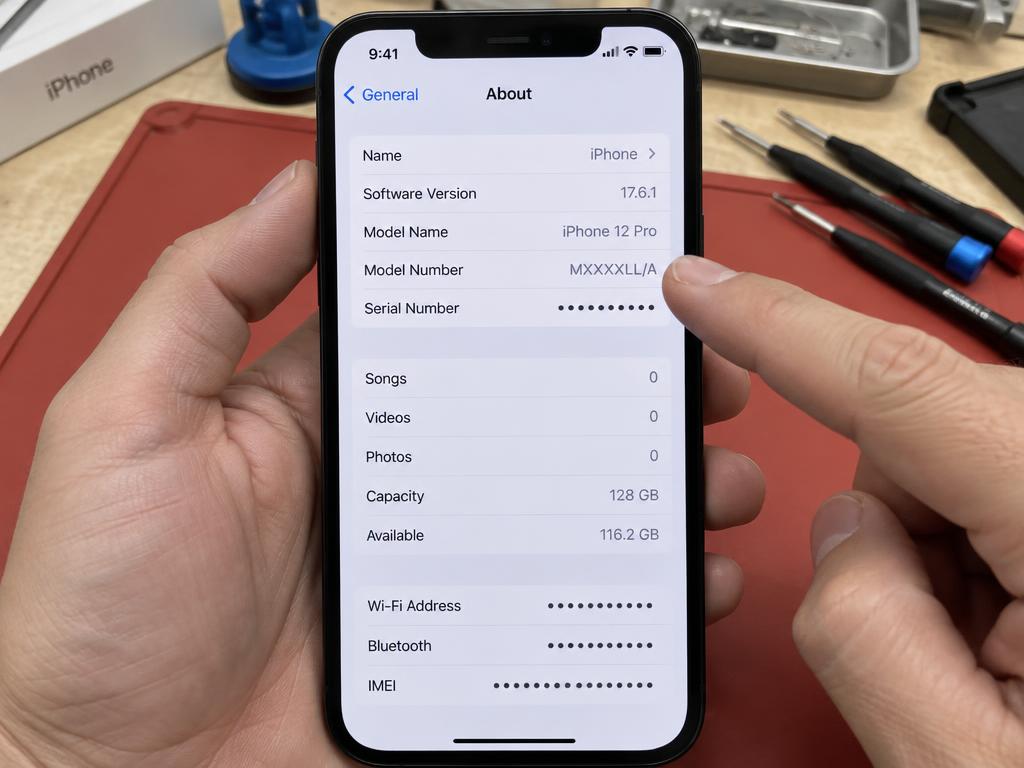
The part number begins with a letter, such as M. Tapping it reveals an A-number that identifies the hardware model; the M/F/N/P guide applies to the part number, not the A-number.
Write down the model name, storage capacity and the part-number prefix. A prefix describes the original sales category—not current condition or later third-party repairs.
Compare the information with the phone and seller’s records. If details conflict, investigate before buying or repairing.
Settings → General → About → Parts and Service History
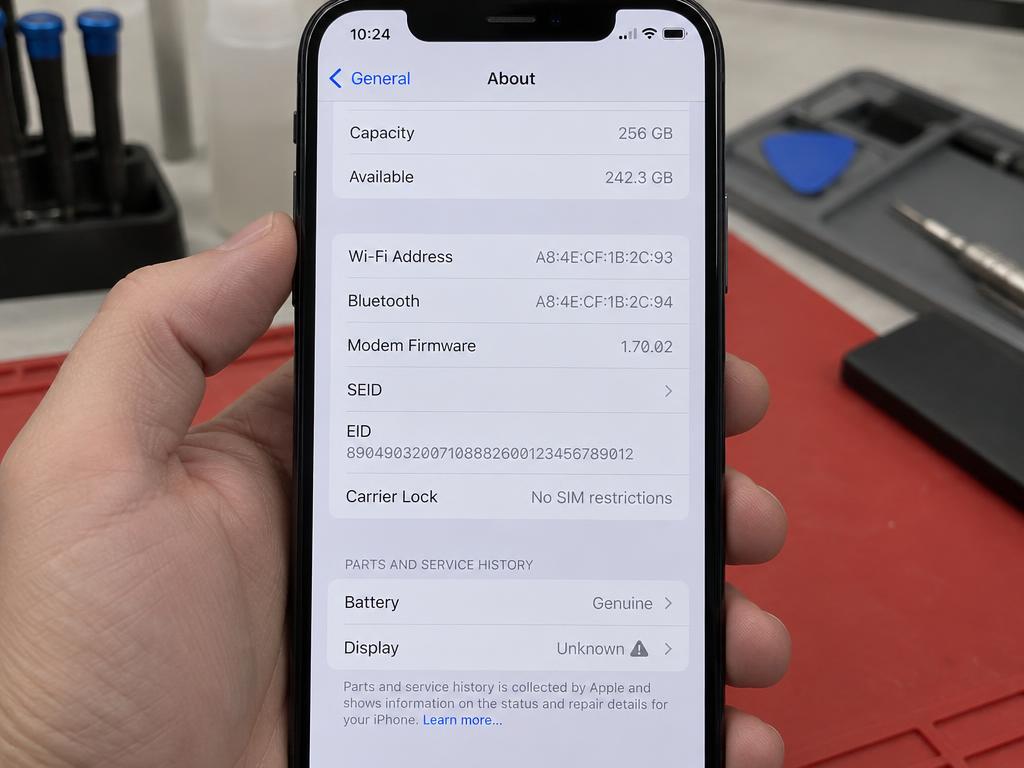
In this example, Battery is Genuine and Display is Unknown. Tap a listed part for available details; do not treat one genuine part as proof that all parts are original.
Note every listed part and its exact status. If the section is missing, record “No history shown,” not “Never repaired.”
Apple reports replacement with genuine Apple parts and processes. It was repaired—this is not proof the part came from the factory.
A genuine Apple part was previously installed in another iPhone, on supported models and software.
The part may be nongenuine, not working as expected, previously used in a way the system cannot verify, or not fully verified.
Repair setup or calibration has not been completed.
The logic board was replaced, which could affect some features.
This section appears only on supported models and software when relevant history is available. Supported parts vary by model; older iOS versions show less information. No history section does NOT prove the phone was never repaired.
Settings → Battery → Battery Health & Charging
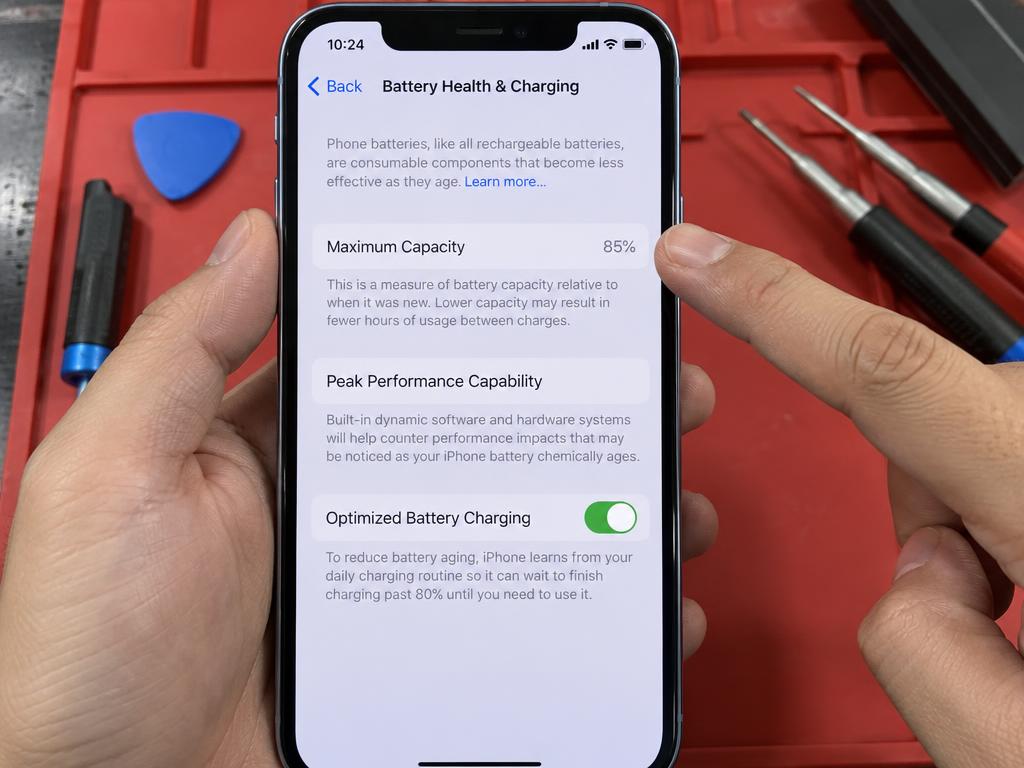
The example shows 85% of estimated original capacity—not 85% current charge. Check for service messages, unexpected shutdowns, unusual heat or rapid charge loss during testing.
Record the capacity percentage and any warning message. A swollen battery or lifting display needs a technician’s safety assessment; do not press it flat or keep charging it.
Battery health indicates condition, not whether the battery is original. A replacement may not have enough information shown here.
Settings → General → About → Serial Number
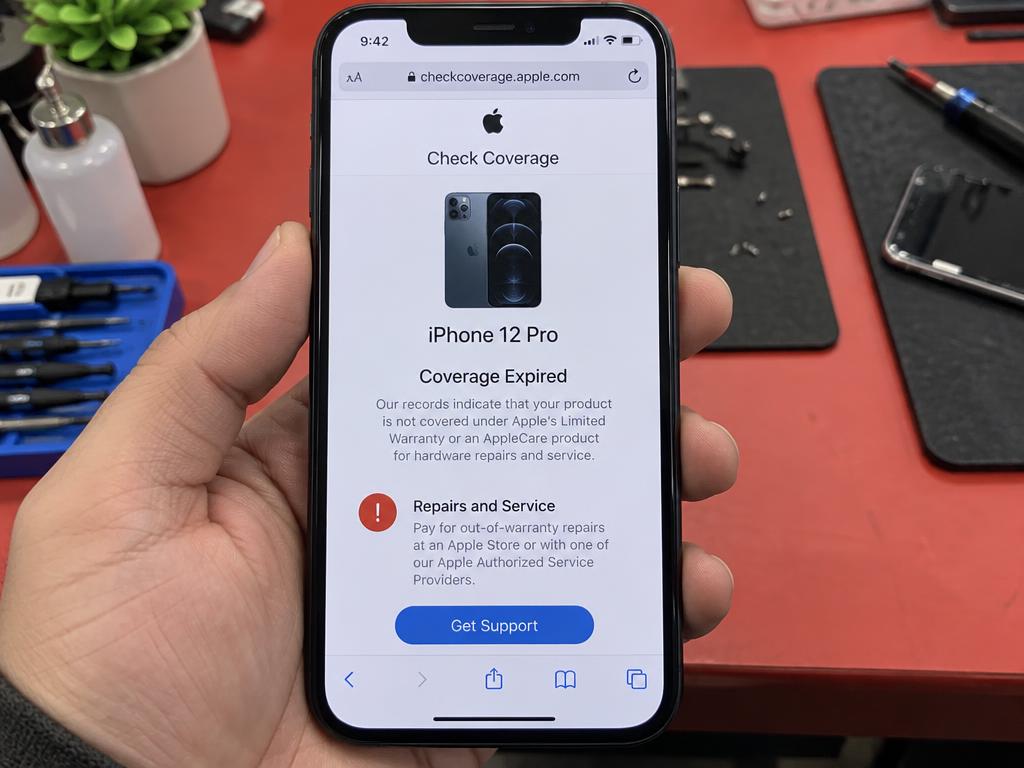
The returned model should agree with the phone. “Coverage Expired” means the listed coverage has ended; it does not mean the phone is fake or unusable.
Note whether the model matches and what coverage is shown. If Apple does not recognize the serial, recheck your entry and contact Apple rather than guessing.
AI-generated demonstration video, not a recording of Apple’s actual website. Apple’s page layout may look different.
Model name
Phone’s About “Model Name” should match the device name Apple shows.
Color / storage
Apple’s picture should match the phone’s color; storage should match About → Capacity.
Purchase date
“Valid purchase date” is normal. A warning to update the date is a reason to ask the seller for a receipt.
Not recognized
If Apple says the serial is not valid, re-type it. Still failing? Do not buy—ask Apple.
Coverage results help check Apple’s warranty information. They are not a complete authentication report and do not prove every installed part is original.
Settings → General → About → Carrier Lock
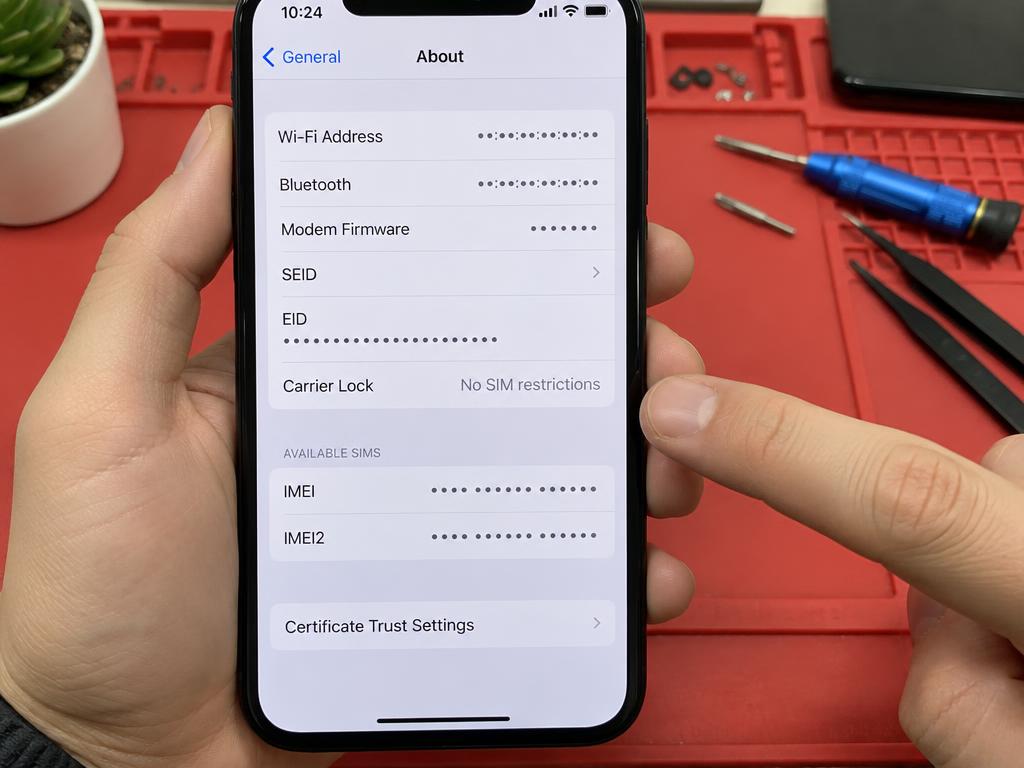
Read the exact Carrier Lock value. If it shows a restriction or the result is unclear, ask the carrier to confirm unlock eligibility; do not promise the customer you can unlock it.
Note carrier-lock status and test a compatible SIM or eSIM with permission. Unlocked does not prove the phone is paid off, not blacklisted, or free of Activation Lock.
Check compatibility with the intended carrier before buying. Carrier lock and Activation Lock are different checks.
Display • Cameras • Audio • Charging • Connections
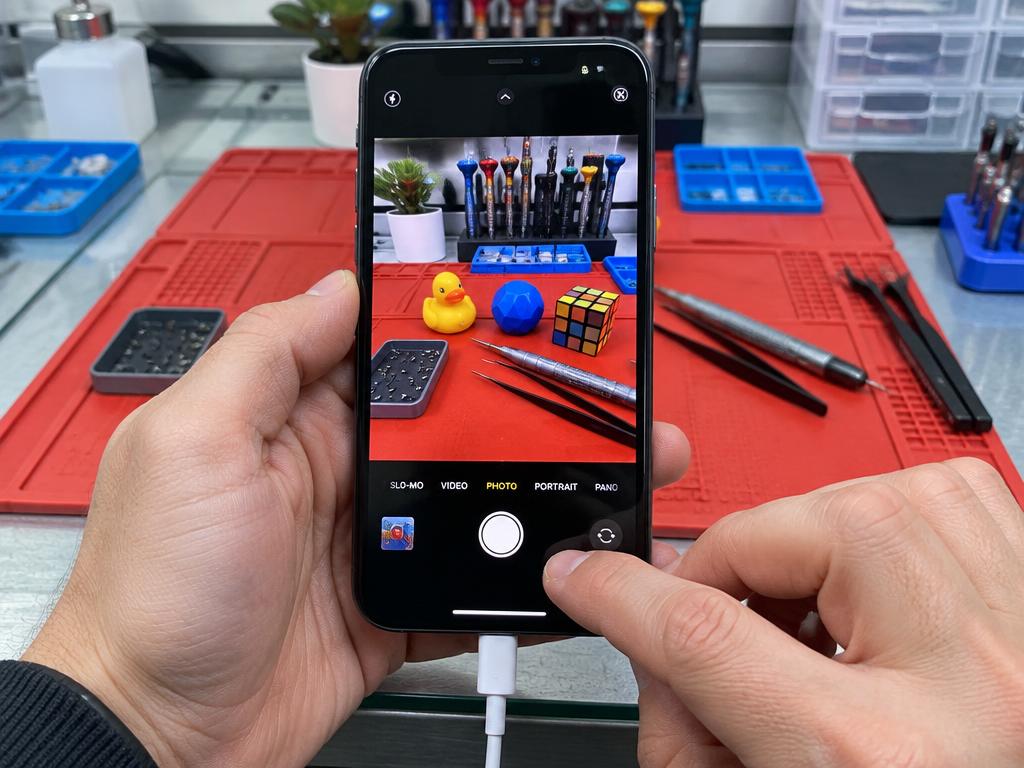
Use Notes to draw lines over the whole screen for missed touch areas. Photograph a near and distant object with each camera. In Voice Memos, record speech and play it back. Confirm the charging indicator appears with a known-good cable.
Record pass/fail for each function, including cameras, touch, audio, buttons, charging and connections. Clean visible debris safely and retest with known-good accessories before deciding a part has failed.
A working feature today does not guarantee future reliability. Note faults and explain them before agreeing on a repair or purchase.
Owner removes account → Erase phone → Check setup
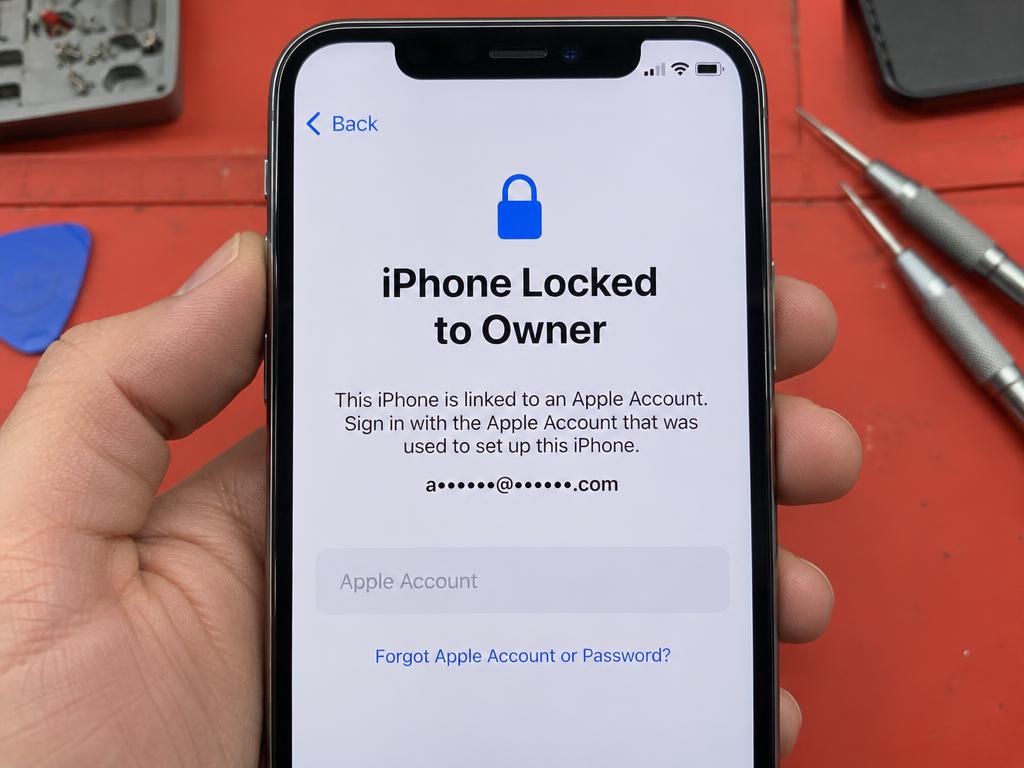
After the owner backs up and erases the phone, continue setup with Wi-Fi and the owner’s permission. The Hello screen alone is not enough; a previous-owner account prompt can appear later.
Do not accept the phone for purchase while it is locked. Have the owner remove it from their Apple Account and check setup again; never attempt to bypass the lock or request their password.
Stop if Activation Lock remains. Only accept the phone after the owner removes it.
No repair is shown in this menu. This does not prove the phone was never repaired.
Review the part and status. Genuine or Used still means that part was replaced.
Investigate further. Explain the specific status before accepting or pricing the phone.
Do not accept the phone until the owner removes Activation Lock.
These checks help compare identifiers, review available repair history, assess current condition, and identify locks. Use the results together—not one label or code alone.
They cannot prove every part is original, that a phone has never been repaired, who refurbished it, or that it will stay fault-free. If information conflicts or the phone’s identity is uncertain, ask Apple Support or a qualified technician.
Never publish or share a customer’s full IMEI or serial number in a public post. Enter identifiers only on the official Apple pages when needed.